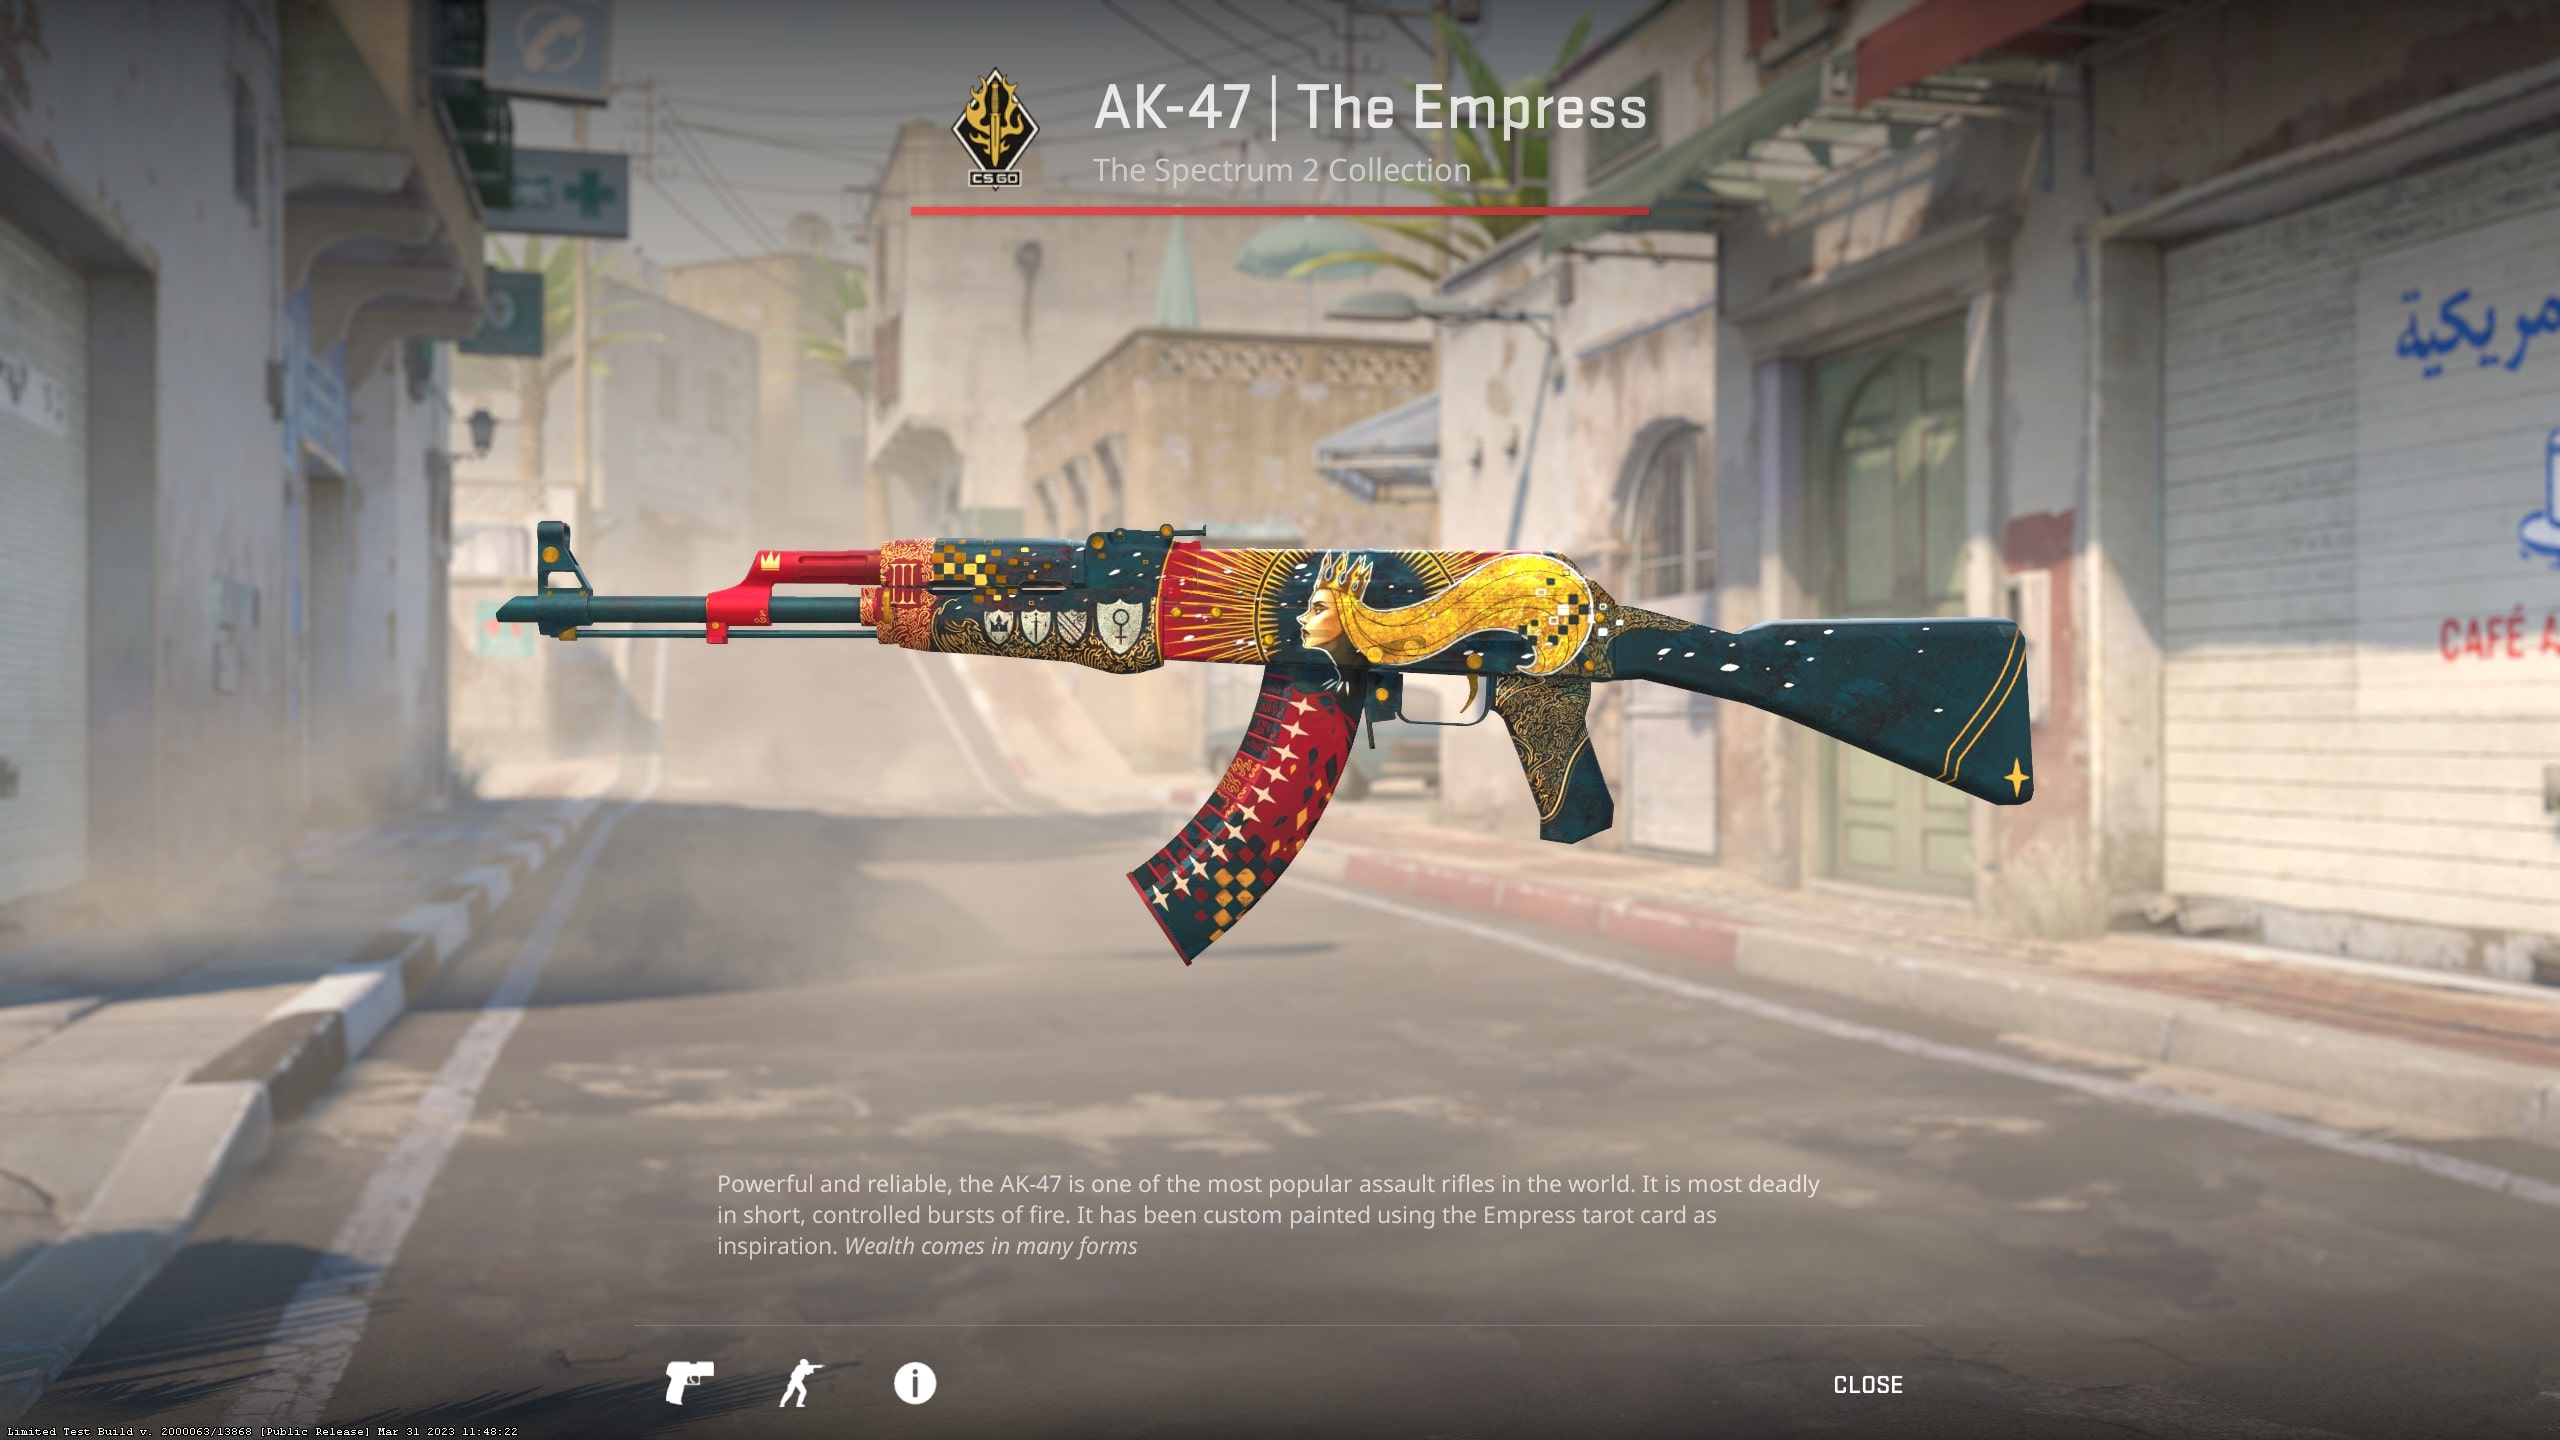
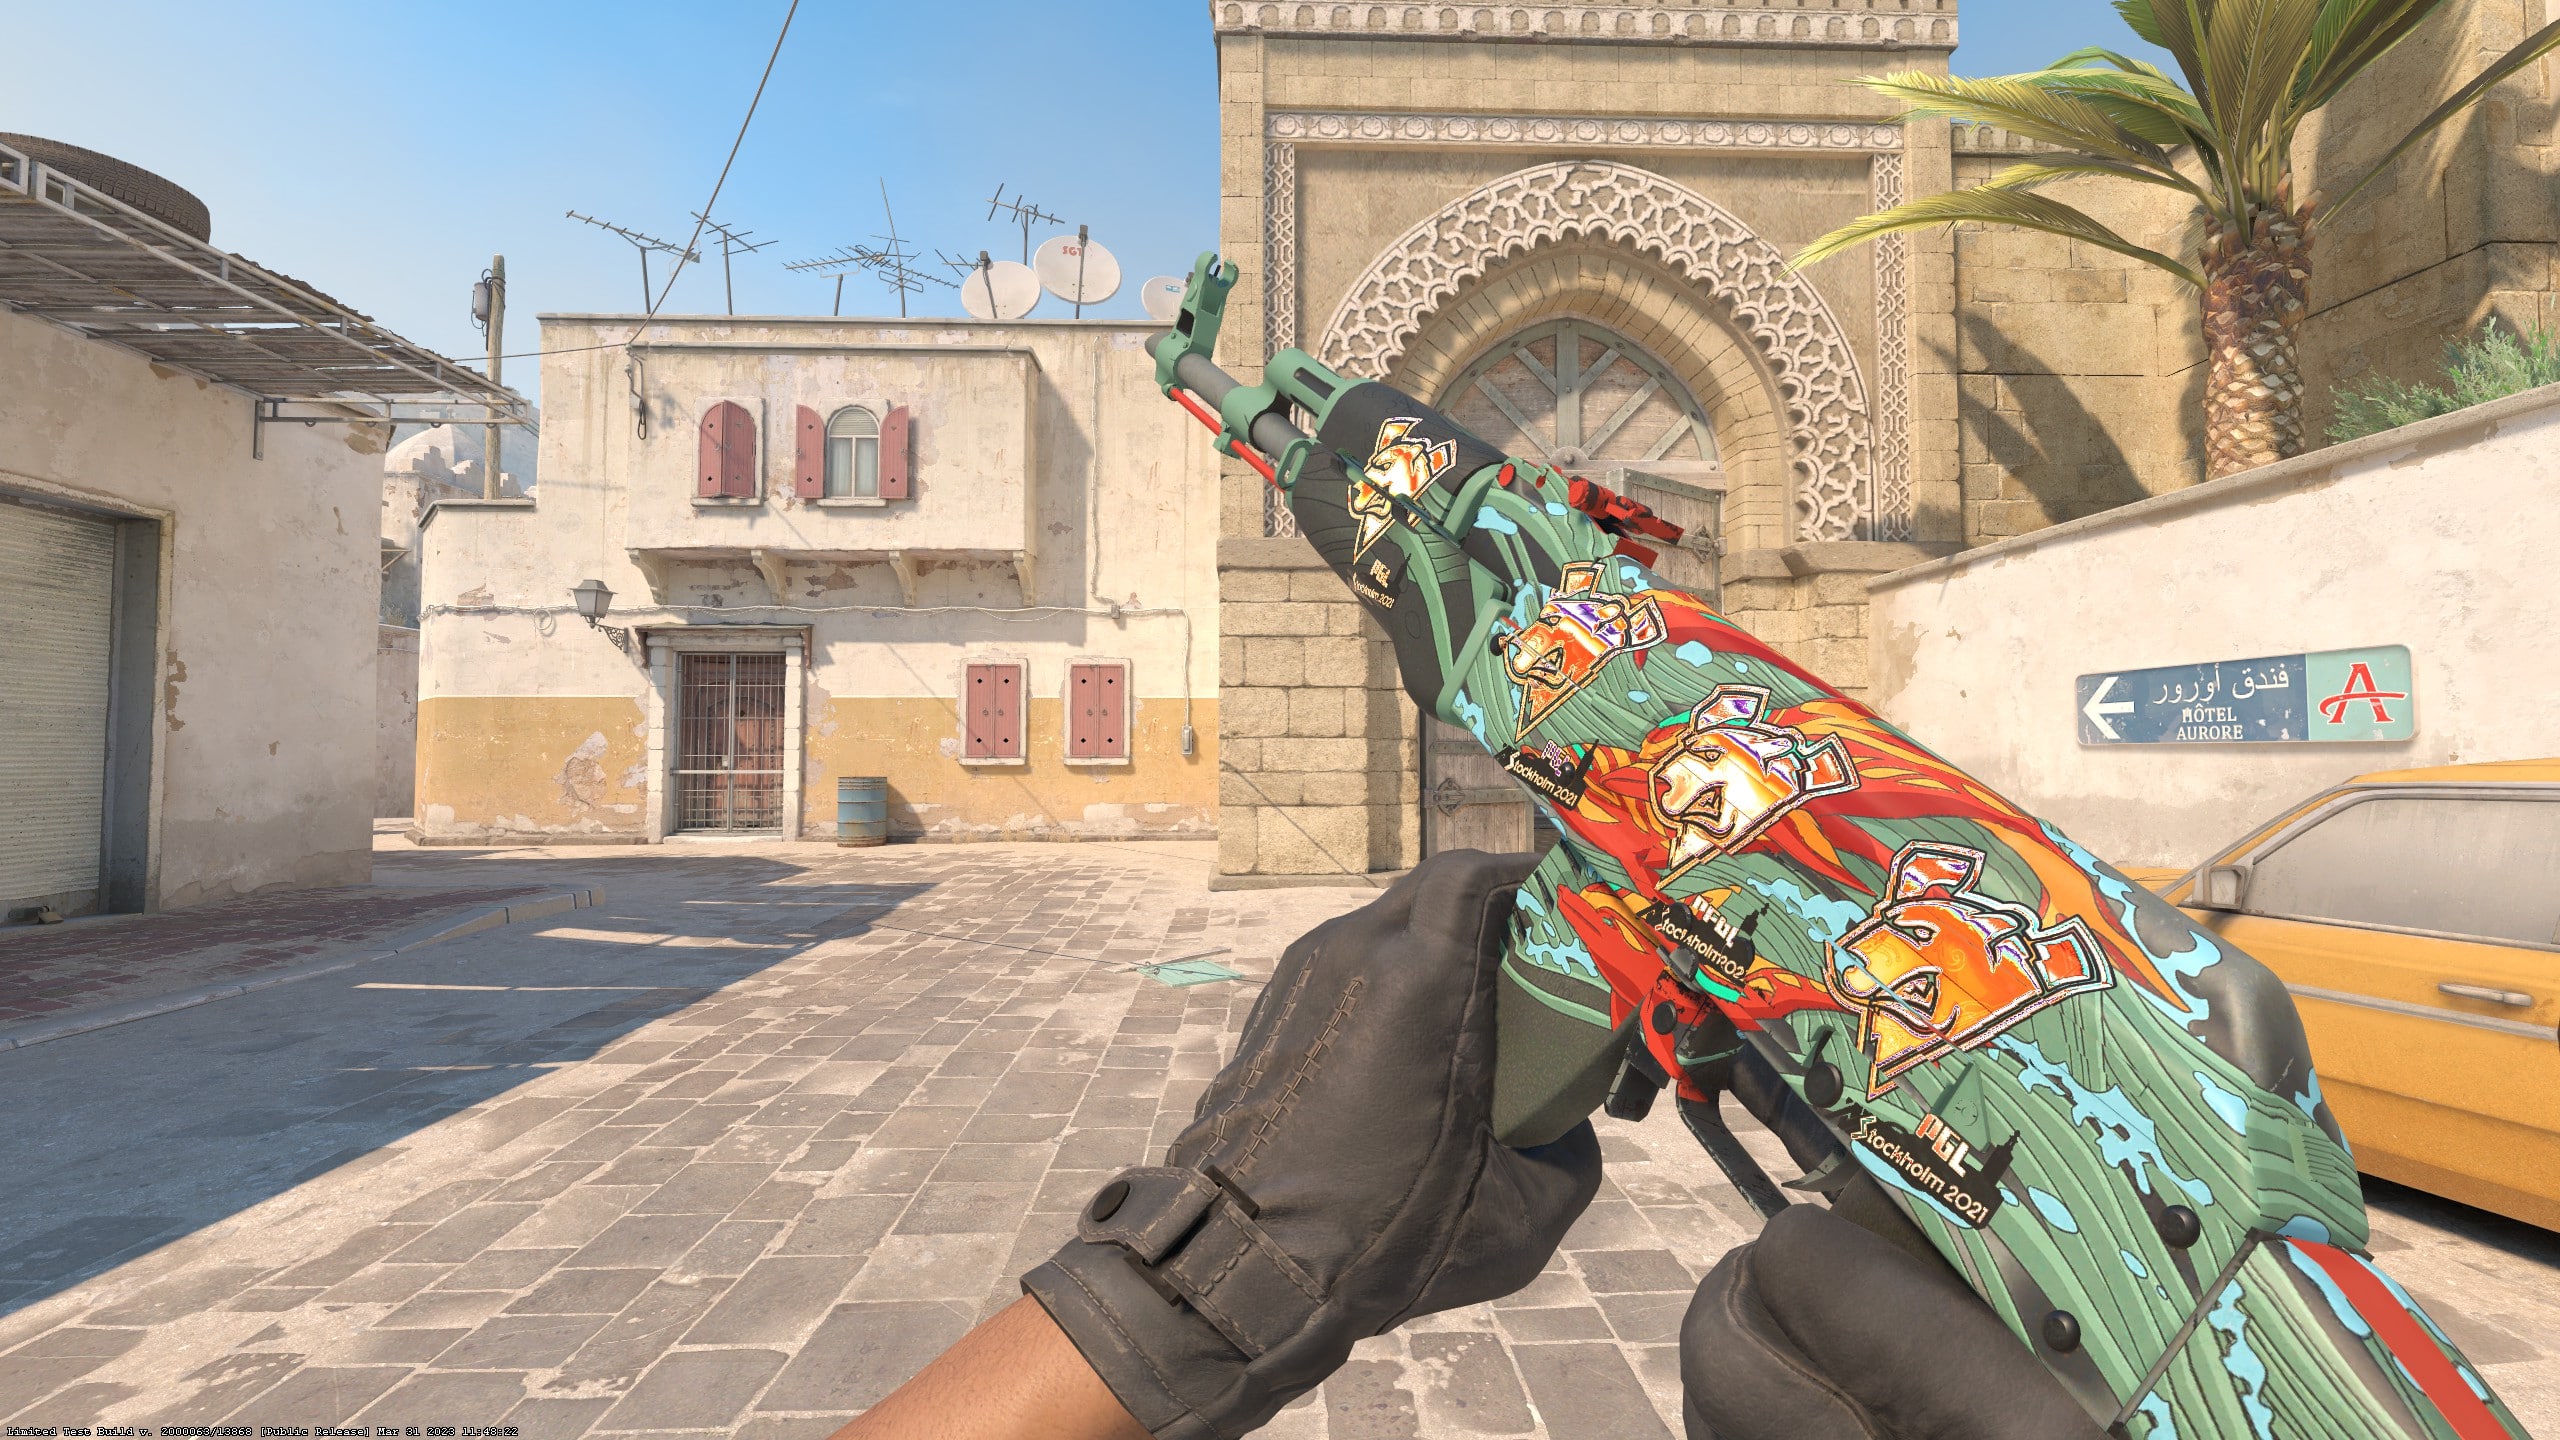
Find out how to inspect skins and crafts in Counter Strike 2
Topic: How to Inspect Skins in CS2
Since Valve released a closed beta for the upcoming installment of the Counter-Strike series: Counter Strike 2, much of the skin community has been very intrigued as to how their skins will look in the new Source 2 engine. Luckily we have for you a great guide as to how you can inspect your skins in the main menu, as well as some other info for the future of Counter-Strike 2 skins.
If you wonder: Are there any CS2 Skin Inspect servers publicly available right now? There are already some, you can find all information surrounding that topic here: CS2 Inspect Servers Guide.

Inspecting Skins in CS2
1.) Ensure your developer console is enabled
To do this, go to the settings page, located on the top left of your in-game menu. Then, search for “developer console” in the settings search bar. To enable to developer console, select “Yes” next to “Enable Developer Console.”
2.) Copy the link of the skin you want to inspect
To find any skin’s inspect link, simply open the inventory of the owner’s skin, right-click the skin you want to inspect, scroll down to “Inspect in Game,” and copy the button’s link.
3.) Open your developer console
The console will be bound to “~” by default, but that can also be changed in settings.
4.) Paste the inspect link into the developer console
Simply press Ctrl + V on Windows or Cmd + V on Mac.
5.) Edit the inspect link
First, remove all of the text before the part of the link that says “csgo_econ_action…”
Next, remove the "percent 20" after the word “preview” and before the long string of numbers in the link
Finally, add a space after “preview”
6.) Enter the link
Once you press Enter, the skin will appear on your screen. Unlike CS:GO, in CS2, you can move around in all directions to inspect every corner of the skin. That method also works if you want to inspect crafts in CS2!

Inspecting your own skins in CS2 servers

The Future of Inspecting Skins in CS2
Conclusion


